This post is part of a series. If you wish to support my work you can purchase the PDF book on gumroad.
This project uses Elm version 0.19
- Part 1 - Introduction
- Part 2 - Project Setup
- Part 3 - Add CSS
- Part 4 - Basic Operations (this post)
- Part 5 - Adding Decimal Support
- Part 6 - Supporting Negative Numbers
- Part 7 - Add Dirty State
- Part 8 - Support Keypad Input
- Part 9 - Combination Key Input
- Part 10 - Testing
- Part 11 - Netlify Deployment
- browse: https://gitlab.com/pianomanfrazier/elm-calculator/-/tree/v0.3
- diff: https://gitlab.com/pianomanfrazier/elm-calculator/-/compare/v0.2...v0.3
- ellie: https://ellie-app.com/72nTbWP6rjka1
Now that we have a good looking calculator, we can add some functionality. We need to do 2 things do have something working.
- Push stuff to the stack
- Do operations on the stack
Whenever I start a new feature in Elm I start with the Model.
type alias Model =
{ stack : List Float
, currentNum : Float
}
initialModel : Model
initialModel =
{ stack = []
, currentNum = 0
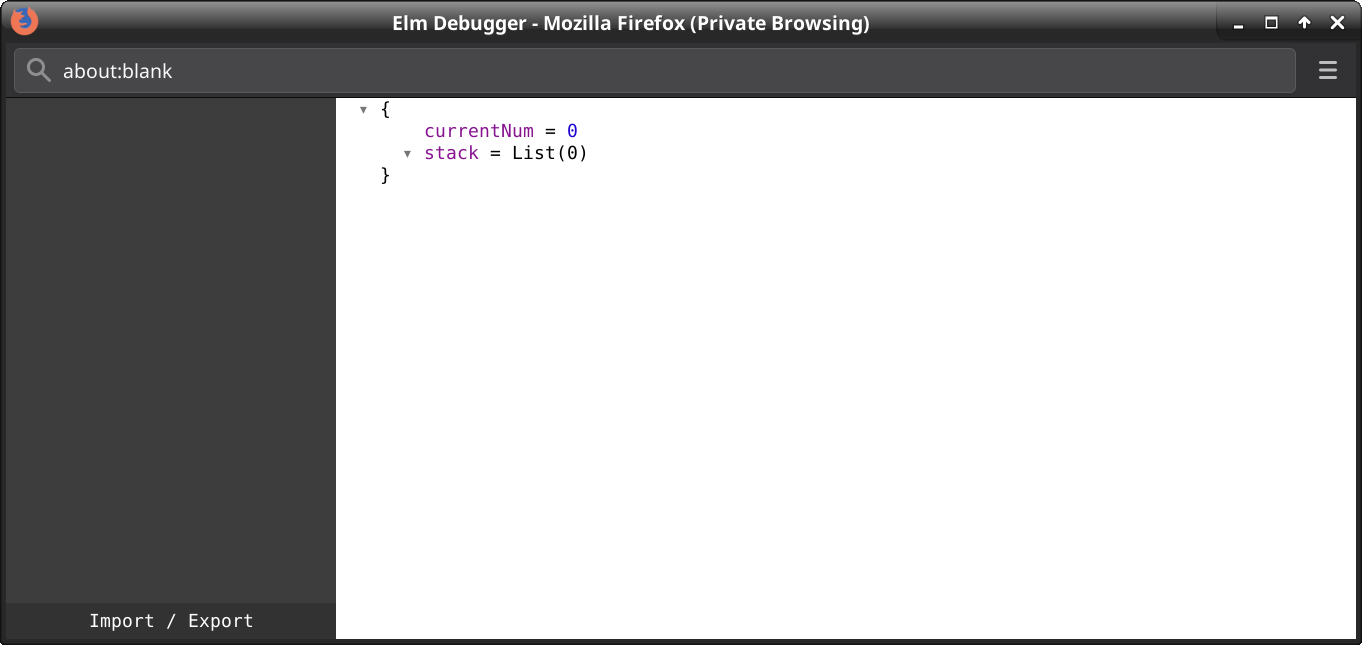
}Let's also output some debugging information to see what's going on as we work. We can turn on the time travelling debugger by restarting our elm-live server with the --debug flag.
npx elm-live src/Main.elm --hot --open -- --output=elm.js --debugNow you should see the debugger in the bottom left side of your browser window.

If you click on it the window will show you the model.
Display the stack
We also need a way to view the stack. Let's update the view function.
The resulting HTML will look something like this.
<div class="calculator">
    <!-- THE STACK -->
    <div class="input-box"></div>
    <div class="input-box"></div>
    <div class="input-box"></div>

    <!-- THE INPUT BOX -->
    <div class="input-box"></div>

    <!-- THE CALCULATOR BUTTONS -->
    <div class="section">
        ...
    </div><!-- section -->
</div><!-- calculator -->
We already created the input box in the previous chapter. We can reuse that function to display the stack.
Now we need to loop through the stack and print it out. We do this by using List.map.
List.map inputBox model.stackIf we look at the function signature of List.map in the Elm repl this is what we get.
> List.map
> <function> : (a -> b) -> List a -> List b
What this is telling us is that it takes a function a -> b and a list List a and outputs a new list List b. Notice how the first list matches the first argument of the input function a. And the output list matches the output of the input function b.
If we do this the stack will be displayed from top to bottom. RPN calculators usually show the stack from the top to bottom so we need to reverse the stack before we print it out.
List.map inputBox (List.reverse model.stack)Here is the final Elm code in our view function. We place the stack on top of our input box and the button grid.
view : Model -> Html Msg
view model =
    div
        [ class "calculator" ]
        (List.map
            inputBox
            (List.reverse model.stack)
            ++ [ inputBox model.currentNum
               , section
               ]
        )
Input numbers
We now need to attach an event to each button in our button grid. All events in Elm are handled as messages to our update function. We'll need to tweak our cell function to take an event listener.
Let's first define the message that will be sent to the update function.
type Msg
    = InputNumber Float
Now we need to handle that message in our update function.
update : Msg -> Model -> Model
update msg =
    case msg of
        InputNumber num ->
            { model | currentNum = num }
Now we can attach the event to our buttons. Be sure to import onClick at the top of the file.
import Html.Events exposing (onClick)

...

cell (onClick (InputNumber 1)) Single White "1"
And finally we need to change the cell function to recieve this onClick message. If you are unsure what the type signature of a thing is usually your code editor can tell you if you hover over the thing in question. Another way is to make your best guess and let the compiler error tell you what type it was expecting.
In this case onClick is an Html.Attribute Msg.
cell : Html.Attribute Msg -> Size -> Color -> String -> Html Msg
cell attr size color content =
    button
        [ ...
        , attr
        ]
        [ text content ]
Now we can add the onClick event to every button and we will be able to input any digit.
section : Html Msg
section =
    div [ class "section" ]
        [ cell ...
        , cell (onClick (InputNumber 1)) Single White "1"
        , cell (onClick (InputNumber 2)) Single White "2"
        , cell (onClick (InputNumber 3)) Single White "3"
        , ...
        ]
If you look back in the view funtion we already set it up so that model.currentNum is being displayed.
Homework
You will learn best by struggling to do something yourself. Try to pick it up from here and do the following.
- Implement the clear button event.
- Implement the back button (i.e. 123 [press back] 12 [press back] 1)
- Input larger numbers. Not only single digits.
And if you are really ambitious you could finish up this chapter by doing
- Push a number to the stack
- Perform operations on the stack
Try it first. If you get stuck I'm going to go through pushing to the stack and doing operations in the next two sections.
Push numbers onto the stack
Now that we can input numbers, we can now push things onto the stack.
Let's first create an Enter message.
type Msg
    = InputNumber Float
    | Enter
And then add the event to our button.
cell (onClick Enter) Double Yellow "Enter"Now what needs to happen to our model when the user clicks "Enter"?
We need to push the model.currentNum to the stack. We can do that with the :: cons operator.
1 :: [ 2, 3 ] == [ 1, 2, 3 ]See https://package.elm-lang.org/packages/elm/core/latest for more information about list operations.
And we will also reset the model.currentNum to 0.
update : Msg -> Model -> Model
update msg =
    type msg of
        ...
        Enter ->
            { model
                | stack = model.currentNum :: model.stack
                , currentNum = 0
            }
Operate on the stack
Now that we have numbers on the stack we can operate on them.
We need a way to tie an event from our buttons to call a function on our stack.
Let's start by defining our message.
type Msg
    = InputNumber Float
    | ...
    | InputOperator Operator
We have no Operator type so let's add that.
type Operator
    = Add
    | Sub
    | Mult
    | Div
And bind the event to our button.
cell (onClick (InputOperator Add)) Single Yellow "+"Now we need a way to pop off an element from our stack and do the operator with the model.currentNum.
case model.stack of
    -- the stack is empty to do nothing
    [] ->
        -- just return the model
        model

    -- x is the head of the list
    -- xs is the rest of the list
    x :: xs ->
       -- do stuff here
Let's talk about this pattern a little more. I know for myself coming from Python or JavaScript this looks really weird. Why can't we just do a foreach over the list? In Elm there is no such thing as a for loop. Processing a list is a recursive operation.
Pattern match on a list
There are two cases when dealing with a list. Either it is empty or it has stuff in it.
If there is stuff in it we can deconstruct it with x :: xs.
x :: xs is a nifty way of popping off the first element of the list. x is the first element. xs is the rest of the list.
Since we have popped off the first element, we can now operate on the element with the currentNum. We can then assign the stack to the remaining list, xs.
Handle the model update
And add handle the message in the update.
update : Msg -> Model -> Model
update msg =
    type msg of
        ...
        InputOperator operator ->
            case model.stack of
                [] ->
                    -- stack is empty, do nothing
                    model

                -- split up the list and do stuff
                x :: xs ->
                    let
                        -- lookup the function to use
                        op =
                            operatorFunction operator

                        -- do the math
                        newNum =
                            op model.currentNum x
                    in
                    -- now update the model
                    { model
                        | stack = xs
                        , currentNum = newNum
                    }
Ok. So I introduced some new stuff in this code chunk. Let's go through some of the pieces.
let ... in blocks
let ... in blocks allow you to define a local scope. I feel it can make the code a lot more readable if you need to manipulate your data around.
Get the operator function
We need to assign a function to each of our Operator types. The function needs to return another function. In this case the function of arithmetic functions takes 2 numbers and returns a number, Float -> Float -> Float.
Putting parens around the + operator, is syntax for, "treat this as a function that takes 2 arguments." It can be used like this: (+) 1 2 == 3.
operatorFunction : Operator -> (Float -> Float -> Float)
operatorFunction operator =
    case operator of
        Add -> (+)
        Sub -> (-)
        ...
Your homework solutions
Hopefully you tried input larger numbers and to implement the clear and back buttons yourself. If you haven't, stop reading and try it. Even if you fail you will learn better than me telling you how to do it.
Input larger numbers
Right now we can only put in a single number. Let's fix that.
update : Msg -> Model -> Model
update msg model =
    ...
    InputNumber num ->
        { model | currentNum = (model.currentNum * 10) + num }
    ...
We need to do a little bit of math to create a larger number. Shift the model.currentNum back and then add the new number.
Clear and back buttons
Let's start by adding Clear and Back to our message type.
type Msg
    = InputOperator Operator
    | InputNumber Float
    | Clear
    | Back
    | ...
Now the compiler will squawk at you to add those two new types to the update function.
MISSING PATTERNS - This `case` does not have branches for all possibilities:

102|#>#    case msg of
...
Let's add those.
update : Msg -> Model -> Model
update msg model =
    case msg of
        Clear ->
            { model | currentNum = 0 }

        Back ->
            { model
                | currentNum = toFloat <| floor <| model.currentNum / 10
            }
For the Back message we need to undo what we did to create larger numbers. This is getting awkward to do this math to input numbers and will have its limitations when we deal with decimal numbers. We will fix that in the next chapter.
How that we have some basic operations done, the next chapter will introduce decimal numbers.